
31 August 2026 · 3 min read
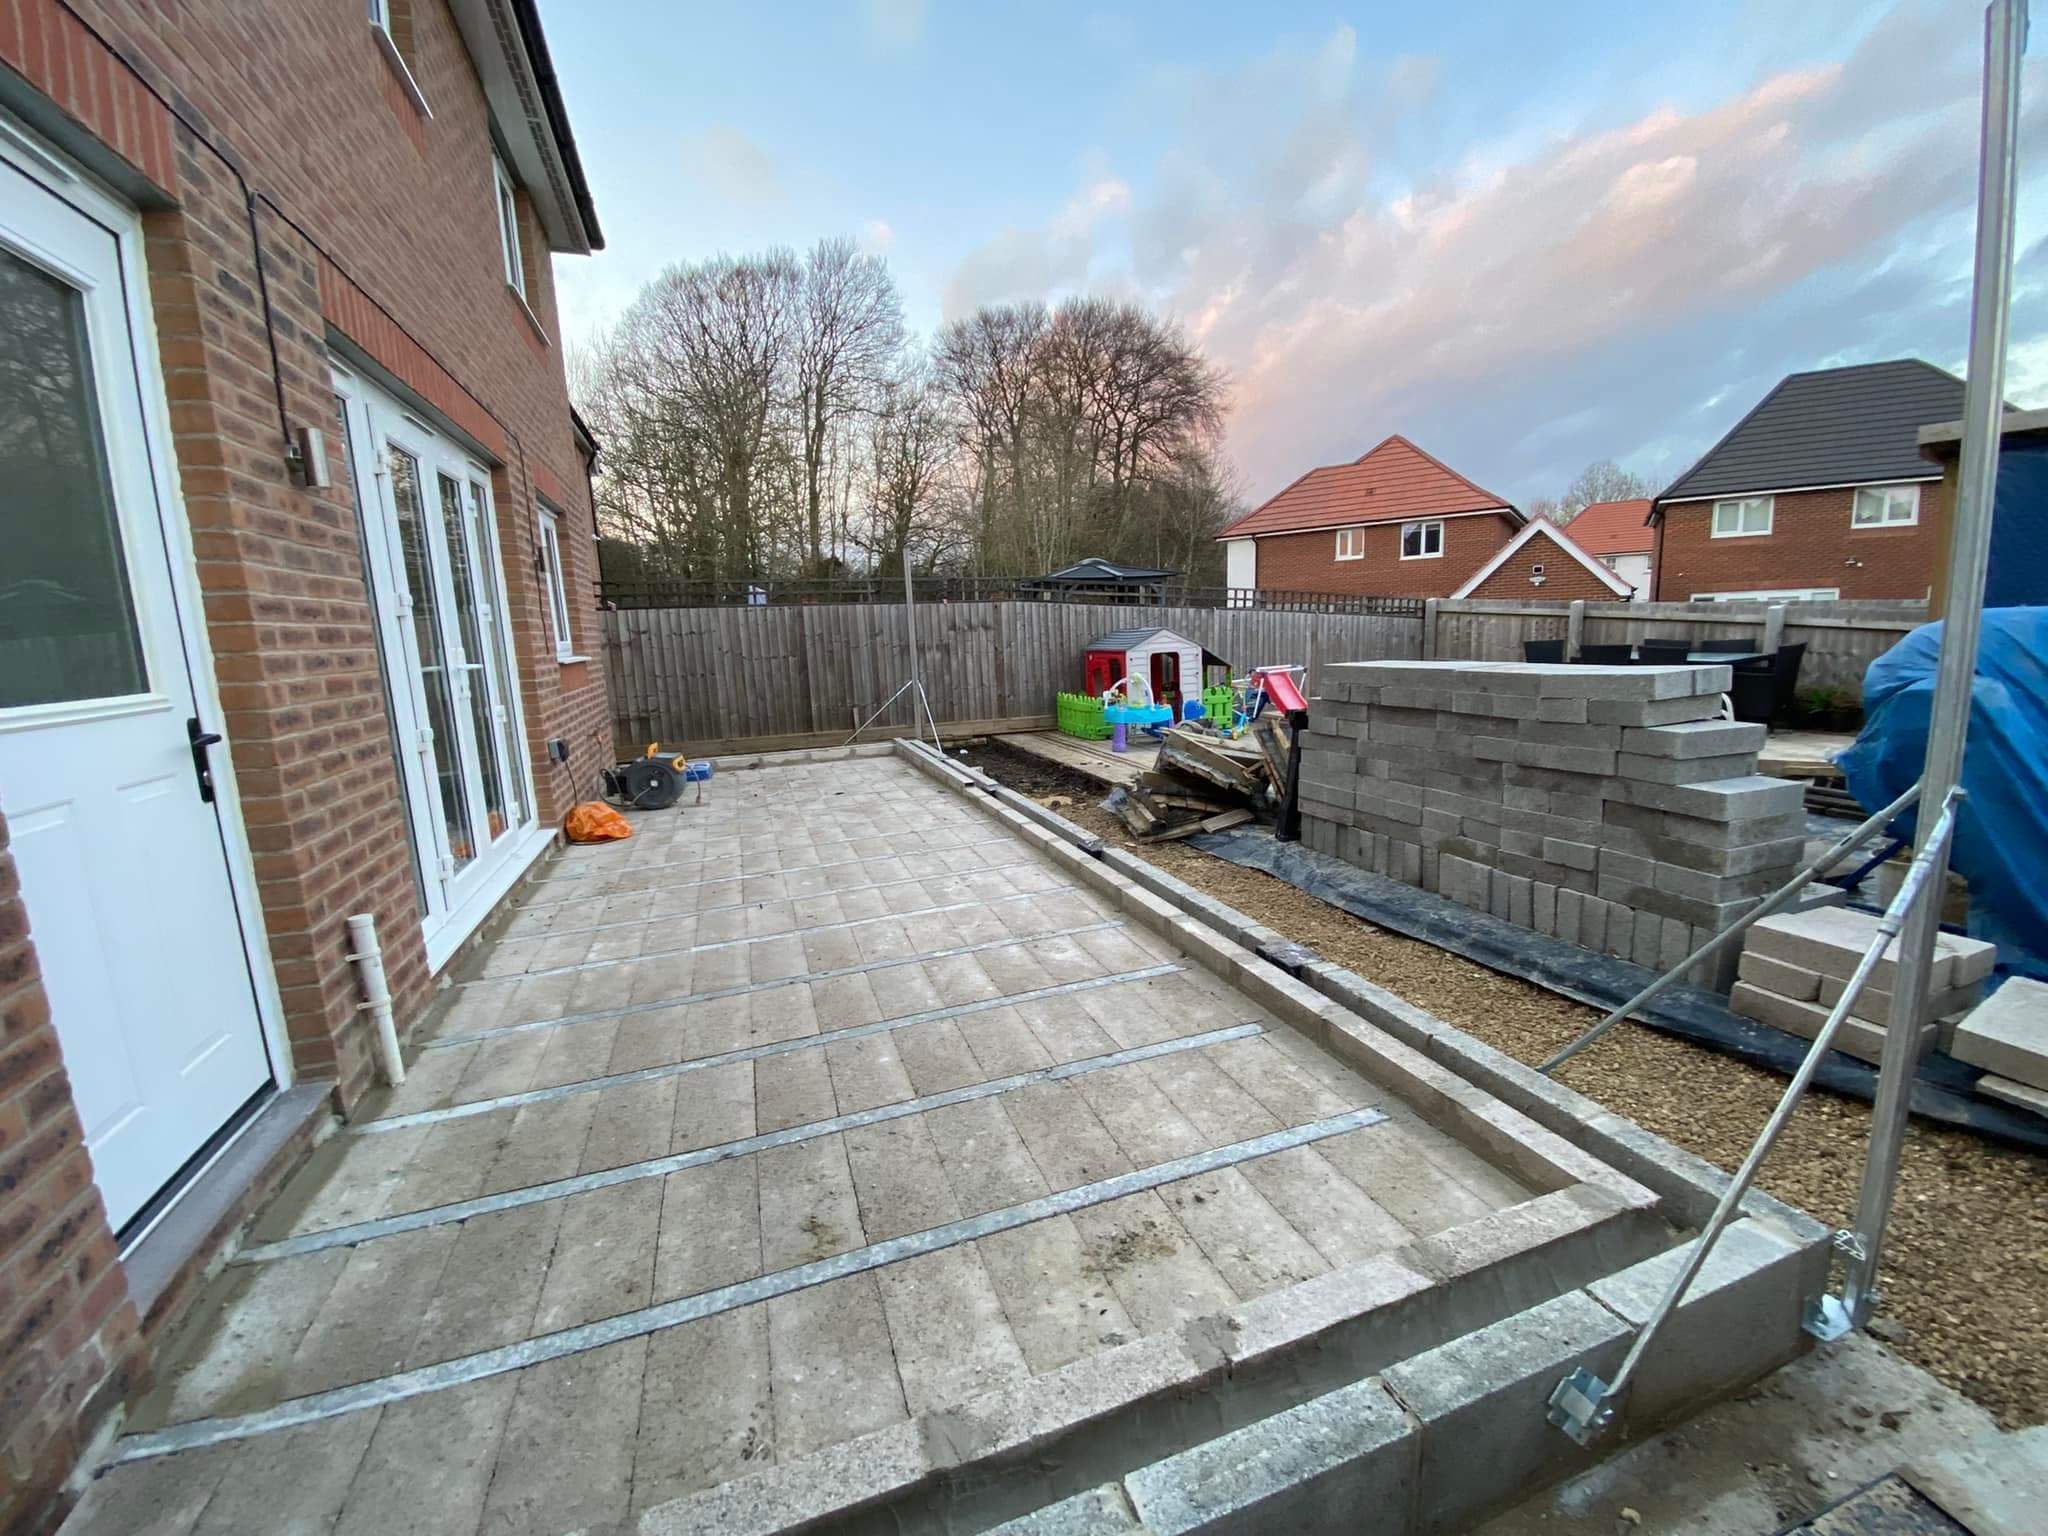
A garden outbuilding sounds simple until you start one. Whether it is a home office, a workshop or a bigger garden room, the part that decides how long it lasts is the part you never see once it is finished. At CLM Projects we build outbuildings across Leeds and the surrounding towns, Horsforth, Pudsey, Morley, Rothwell, Garforth and out towards Wetherby, and the same principle holds every time: get the base and the shell right, and everything after it is straightforward.
It starts with the base, not the walls
Before a single block goes down, we look at the ground. A garden that has firm, undisturbed subsoil behaves very differently from one on soft clay or made-up ground where old borders and paths have been dug over. That difference changes what the base needs. A modest, lightweight garden room on stable ground needs less beneath it than a masonry workshop on soft clay, which will want a deeper, better-reinforced slab to spread the load and resist movement. There is no single figure that works for every plot, the honest answer is that it depends on what the building weighs and what it is sitting on. Anyone quoting you one universal slab thickness before they have seen your garden is guessing.
We also think about levels early. Many Leeds gardens slope, and a raised concrete block base or a stepped foundation is often needed to get a level, dry floor. It is far cheaper to sort that at the start than to fight it later.
The shell: blockwork, brick and timber working together
Once the slab has cured, the walls go up. On our current builds you will often see a mix, brick on the outside for looks and weather resistance, concrete block on the inside for strength, and timber stud framing where we are forming internal walls or a lightweight structure. Each has its place. Masonry gives you a solid, long-lasting shell that holds heat well and takes plaster cleanly. Timber stud is quicker, easier to insulate deeply and ideal for internal partitions.
Damp is the enemy of any outbuilding, so the details matter: a damp-proof course above ground level, a proper membrane under the slab, and cavities or breathable build-ups that let moisture escape rather than trapping it against your new plasterboard.
Get the services in before you close things up
One of the most common regrets we hear is people wishing they had run more cables and sockets while the walls were open. During the build stage you will see loose electrical runs deliberately left in place, that is the time to decide where your power, lighting, data and heating go. Chasing cables into a finished room later is messy and avoidable. If you think you might one day add a small kitchenette, a heater or extra lighting, we run the provision now even if you do not fit it yet.
Planning and building regs
Many garden outbuildings fall under permitted development, but not all, size, height, proximity to boundaries and intended use all matter, and a building someone sleeps in has different rules again. We will tell you plainly whether your project needs approval and help you get it, rather than building first and hoping.
Why the unglamorous stages pay off
The mid-build photos of a project are never the pretty ones, bare blockwork, loose cables, tools on a dusty floor. But that stage is where a good outbuilding is won or lost. Solid ground preparation, honest damp detailing and services planned ahead mean the finished room stays dry, warm and useful for decades.
If you are thinking about a garden room or workshop anywhere around Leeds, get in touch with CLM Projects for a straightforward chat and a quote.